On your mark! Get set! Go?
Many of us love going into nature, taking beautiful scenic pictures, and relishing in the fun of composing the shot and using our pictorial creativity. But most of us don’t love the technical aspects of the camera; all the choices and setting, all the dials and buttons. Which explains why many of us choose AUTO and then just point-and-shoot. You can do way, way better with just a few minutes of tech talk.
If you are going out on a photography shoot what does it mean to Get Set?
It means asking yourself, “What am I shooting? What is the setting? How should I set my camera before I go out?”
I find there are a handful of settings I like to tweak before I head out. If I forget to do this, I get the settings I used for my last photo session – this might be a completely different environment! I can then make further adjustments throughout the shoot, if needed.
Here is what to think about:
1) Image quality (file size)
Your camera lets you adjust the file size of your pictures; how much memory will be used to record this image. The choices usually include small, medium, and large jpeg compression file types and maybe a raw uncompressed image as well.
To figure out what size image works best for you, it all depends on how you will use the image post-production. For most images that will be used online or in their digital format, small is big enough.
When to use medium or large formats? Medium is great if you want to fill an online page with a bigger image (ie. full backgrounds or banners) or perhaps you plan to make some smaller (4×6) prints. Large will help you get reasonable quality in 8×10 prints.
A jpeg image processes all the data captured and pares it down, hence why it’s known as a compressed image. The colour balance, warmth of image, sharpness of image, contrast, overall exposure, etc. are all set. The 24 MB image your camera captured is now 2 MB.
In a raw file you get all the data, all 24 MB, for the image. It is unprocessed. Choosing raw is a commitment to working with the file in some image management software like Lightroom/Photoshop. A big part of the fun in raw is you get to make all your own decisions about the adjustments like contrast, colour balance, etc. And it’s easy—usually just a series of sliders you can adjust. A raw image that has not been “processed” might often look flat, but after working it you can have a dynamic, stunning image. Also, a raw image often has enough data that you can crop to a smaller image without losing image quality.
For those unplanned shoots, many smartphones (such as the newer Apple iPhone and Samsung Galaxy ranges) also have the ability to shoot in raw format.
2) Focus
Manual or automatic? I start with automatic and then in situations where that function is challenged, I might switch to manual. Most cameras also give you a choice as to what is being focused on. You can choose the centre of the frame, some other point in the field, or an average, or a centre weighted average. These can make for fun experiments.
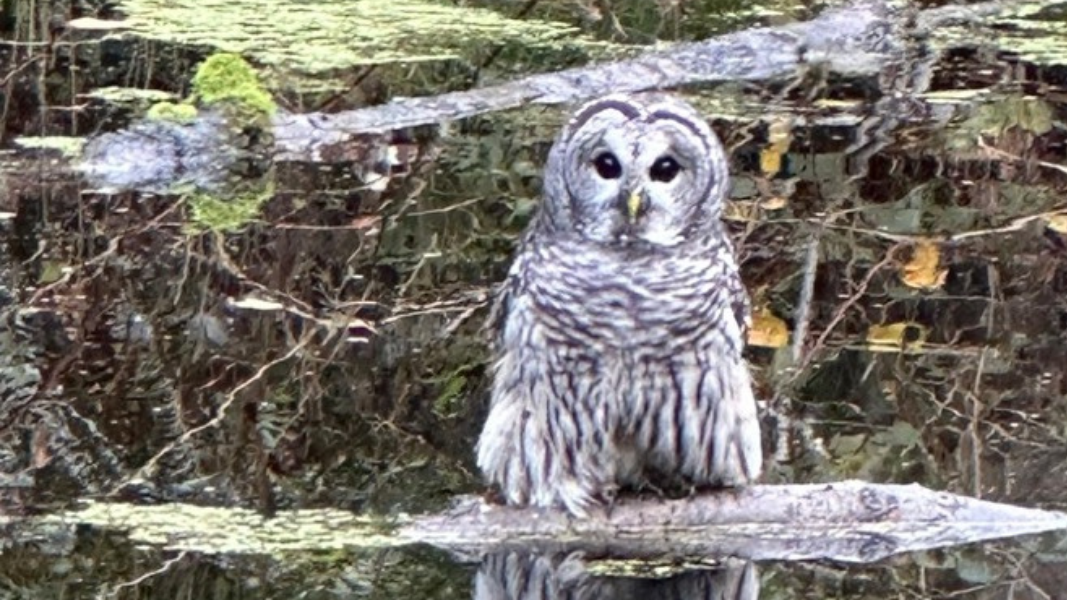
For example, when taking an image of a bird, I often have it on centre focus and I put the bird smack in the centre. I can always recompose with a crop later if I want the bird at a different place.
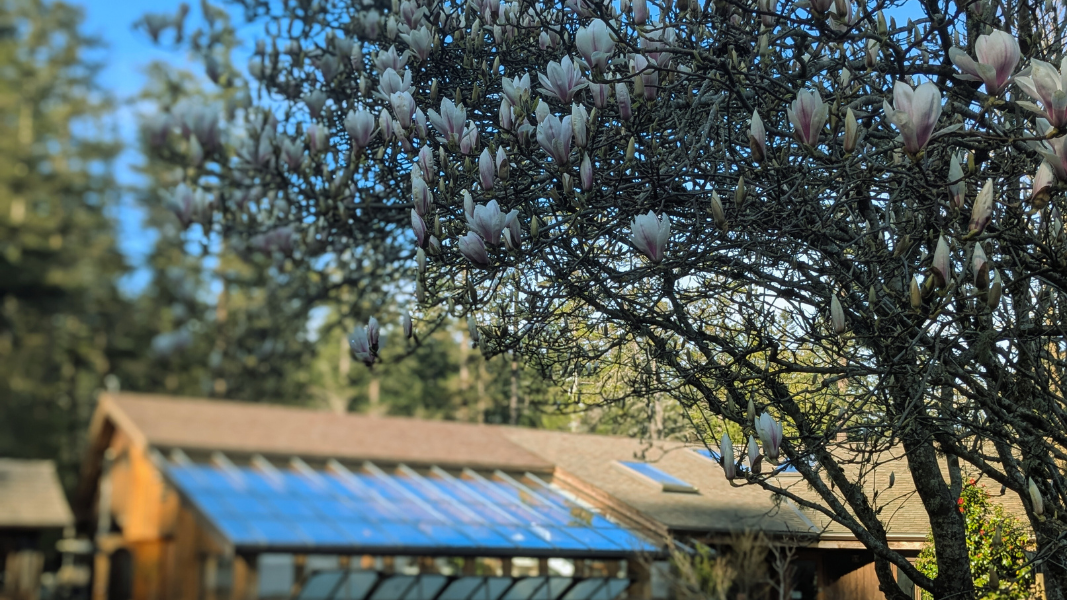
3) Image stabilization
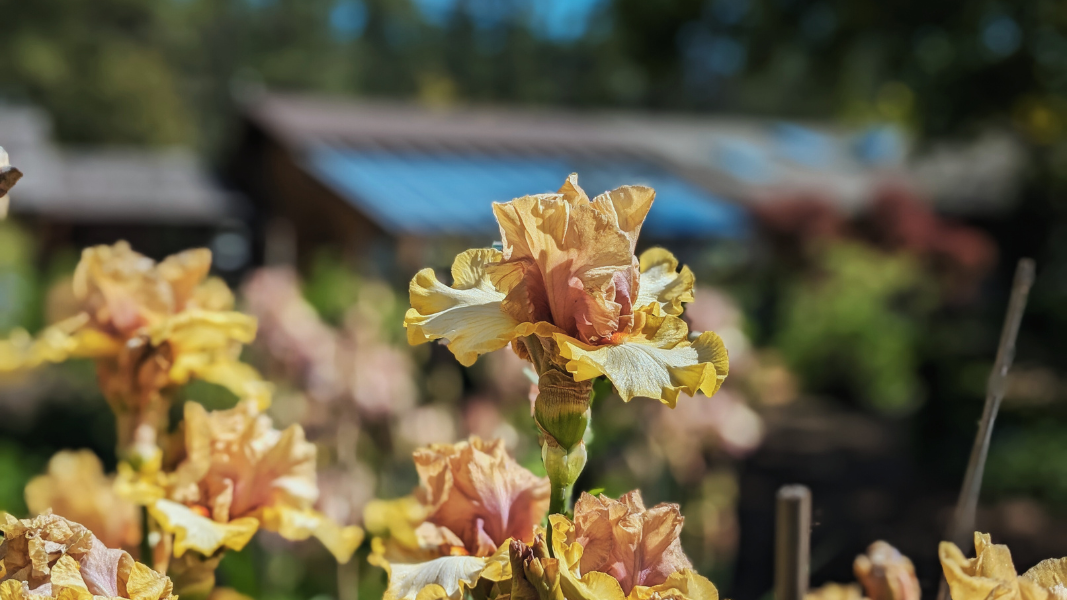
I leave this on unless there is a specific reason I don’t want it. Maybe I want things blurry. Here is the Hollyhock Garden but you might not recognize it.
4) Sound off
My preference is to turn off camera beeps. Why add noise to your creative process, and why disturb everyone else?
There isn’t enough room today to cover the rest of the settings in detail but here are a few things that you should look into to deepen your photo quality:
5) Exposure Mode: I like to start in Program mode rather than Auto as it allows me to make easy adjustments as I go. Lots to learn about the other exposure modes available now.
6) White Balance: I start in Auto and only rarely shift as necessary, like if I am under fluorescent lights.
7) Beginning ISO: This is how you set how sensitive you want the sensor to be, like the speed of the film in the old days. There is also a lot to talk about here. In broad daylight, I might start with an ISO of 400, boosting as needed for clouds or lower light. Indoors in a darkened room I might be way up at 24,000. It is complicated.
Think of it like the ISO is the context within which you choose shutter speed and aperture; aperture being the amount of light being allowed into the lens. If you can’t get the settings you want, sometimes you just need to adjust the ISO and try again.
I hope this helps as you set up your camera to get outdoors and take some amazing pictures. I’ll be sharing a mini-workshop at Hollyhock this August. Contact [email protected] for details.